
Planning Permit Process Victoria: How to Get a Planning Permit Without Losing Sleep
Think the council planning phase is just an expensive lottery? Check out these essential planning permit tips Melbourne homeowners and developers can use to de-risk their projects. Learn how to make smarter site purchase decisions, evaluate an architect’s work with confidence, and smoothly secure a successful planning permit.
10 min read


It feels stressful. It feels uncertain.
You’ve found the perfect block of land. But the moment someone—a well-meaning friend, a builder, or a consultant—mentions the planning permit process Victoria requires, the excitement vanishes. Suddenly, your dream project feels like a massive gamble.
We’ve all heard the horrible, well-intentioned advice:
"There is zero certainty with local Councils." "They can ask for whatever they want." "You won't truly know if it's approved until you lodge."
And it's your hard-earned money tied up in the land, your holding costs ticking away, and your vision on the line.
That knot in your stomach is entirely valid. The planning system can feel incredibly opaque if you don’t know how to navigate it. But here is the secret most people miss: You can drastically reduce your risk before buying the site or spending on formal architectural drawings.
Here is your proactive blueprint on how to get a planning permit in Melbourne without the sleepless nights.
Planning Permit tips Melbourne
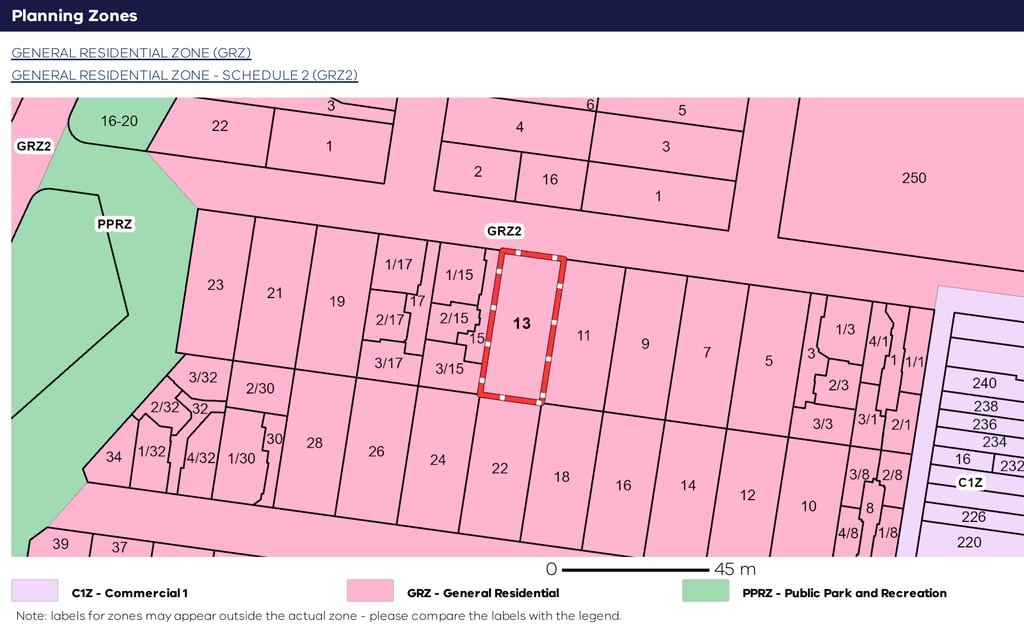
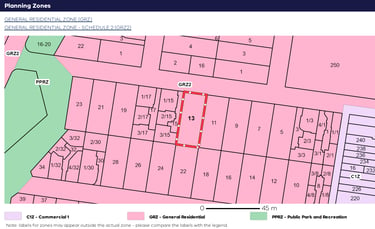
Step 1: Compare Your Zone and Overlays With Your Neighbours
Before you get carried away with design concepts, you need to understand the exact rules governing your land. If your immediate neighbours are operating under the identical zone and overlays as your site, their existing homes provide a legal blueprint of what is already possible. It isn't guesswork; it's precedent.
Action: Go to https://www.planning.vic.gov.au/planning-schemes/planning-property-report to download the planning property report for your site. (or your state equivalent)
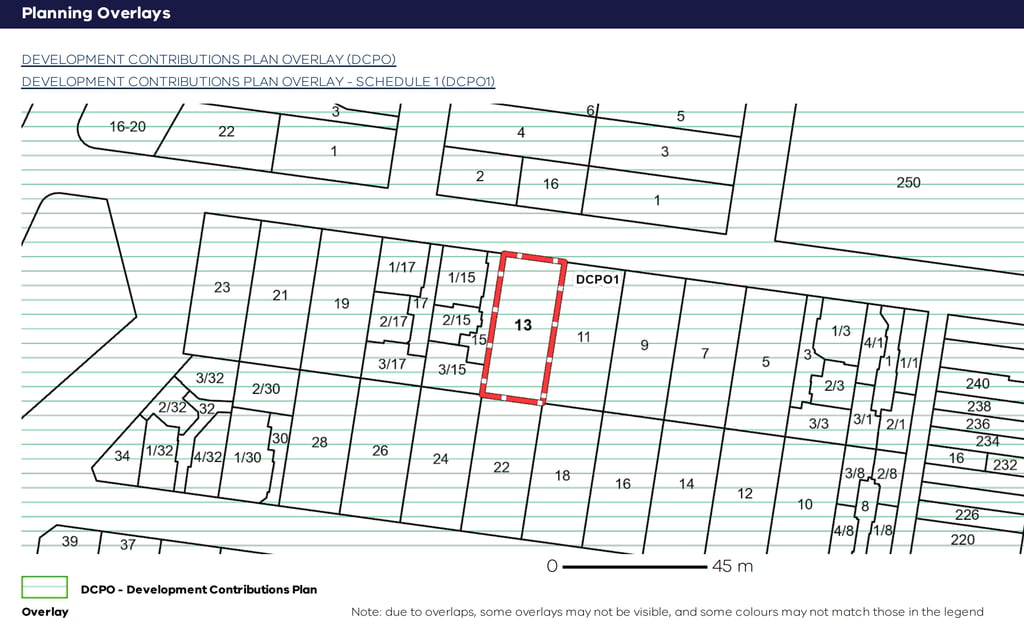
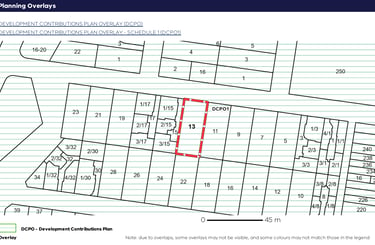
What to look for: Identify your specific zone (e.g., General Residential Zone) and any environmental or heritage overlays.
The Comparison: Check the properties directly beside, behind, and across the street from you. If the zones and overlays match (identical colour & hatch), you are playing by the exact same rulebook.
Risk Alert: If your property has a different zone or overlays than your neighbours, stop there.
The risk profile just went up, and you’ll want to speak with a seasoned architect before moving forward.
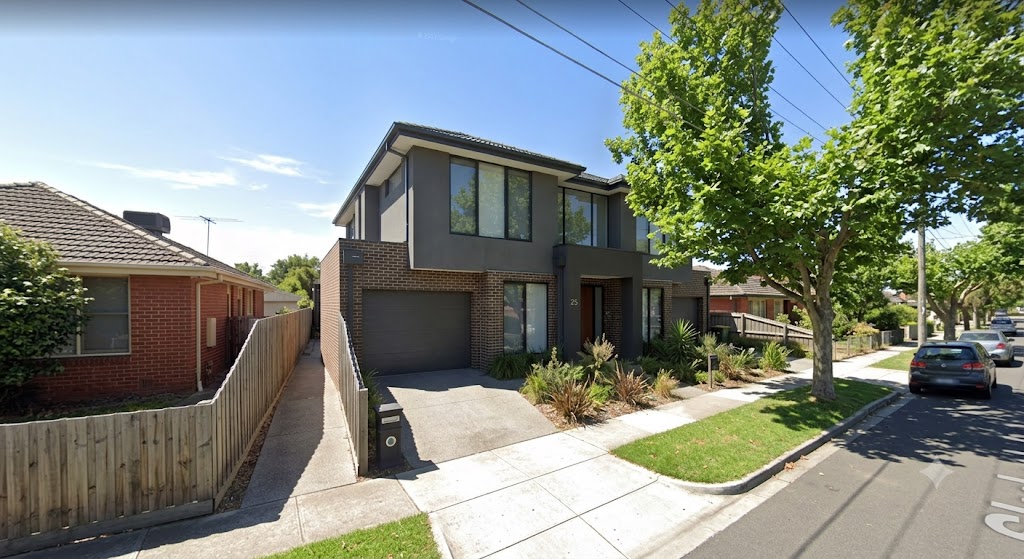
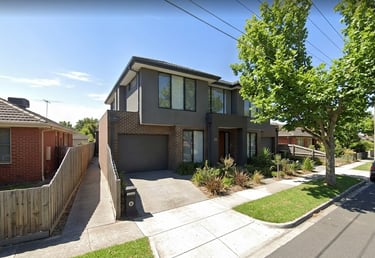
Step 2: Find the Bulkiest Neighbour (Benchmark the Upper Limits)
Once you have confirmed that you share the same rules as your neighbours, it is time to look for the most substantial built examples on your street. You want to audit:
The three properties on either side of your site.
The property directly behind you.
The properties directly opposite you.
Take a walk down the street and take photos of three specific elements:
The Front Elevation: Which house pushes furthest forward toward the street?
The Side Elevation: Which house extends the deepest along the boundary line?
The Rear Elevation: Which house has the largest, most dominant rear footprint?
These might be three entirely different houses, and that is completely fine.
Now, use these boundaries to roughly sketch the physical volume—the "bulk"—you want on your site.
As a quick rule of thumb for spatial planning in Melbourne:
2-Bedroom Home/Unit: Allow roughly 100m2 of internal floor area.
3-Bedroom Home/Unit: Budget for roughly 150m2.
4-Bedroom Home/Unit: Plan for 200m2 - 230m2.
You aren't trying to fully design the home right now. You are simply stress-testing whether the total amount of space you want realistically fits within the established upper limits of your specific street.


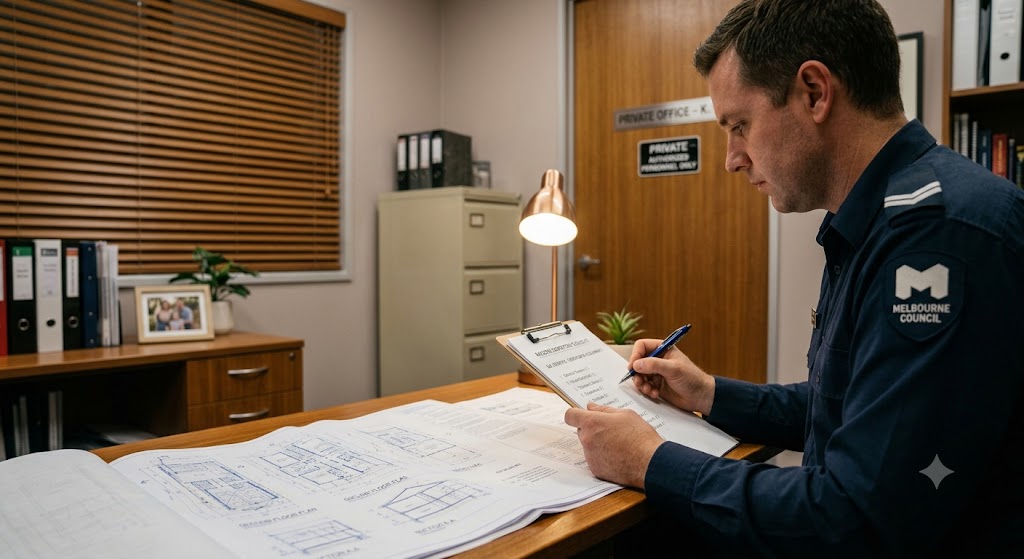
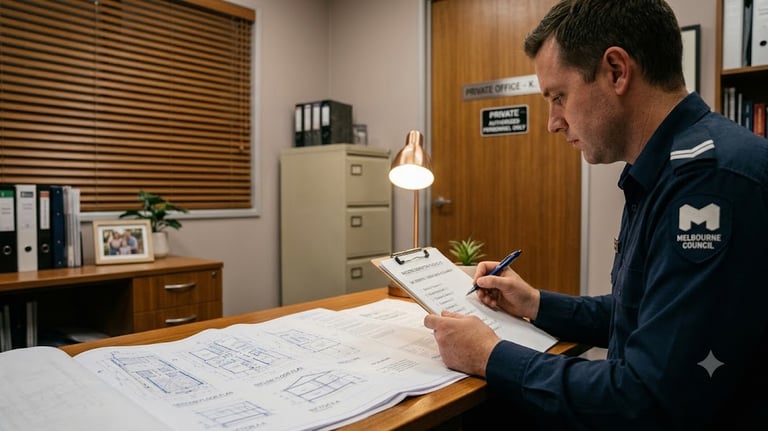
Step 3: Tap Into the Council Planning Helpdesk
Armed with your rough sketches and real-world street photos, head down to your local Council office in person. Skip the phone queues.
Ask to speak directly with the Duty Planner or the Planning Helpdesk.
Present your findings:
"These properties on my street share the exact same zone and overlays as my site. They have built to this scale at the front, this depth on the side, and this height at the rear. I am proposing something highly similar. Based on this sketch, is this concept reasonable?"
When you back up your project with existing street context, the Duty Planner can provide genuine value. They will tell you if you are on the right track, or highlight specific reasons why your bulk might need to be scaled back.
If you are building a single dwelling or doing a large extension, absolute bulk is rarely your biggest hurdle.
If you are a property developer trying to maximize townhouses, this step will quickly reveal the hidden challenges you might have missed—like driveway clearance widths, upper-floor setbacks, and car turning circles.
Confirm the site is suitable for your business case.
With the council explaining the restrictions and limitations, you will find out what space you need to cut away from the building bulk, driveways, car turning areas, upper-floor separation, and any additional setbacks.
You will also identify critical trees that cannot be removed (take photos and consult the council arborist).
Recalculate how much floor area you are left with across both the ground and first floors to see how many units you can fit. You now have a high-level understanding of whether the site—based on the number of units you can fit, minus a contingency buffer to minimize risk—presents a profitable business case.
This will help you decide whether to proceed with the purchase, or if the site is viable for development, allowing you to confidently invest your money and engage the right architect.
Hire the Right Architect - If the site is right
Once you have vetted the site and spoken to Council, you are no longer entering an architect's office blindly. You understand the context, the constraints, and what the street allows. You are now in a position of strength to interview and hire the right design professional.


What to Bring to Your First Consultation
A "Needs vs. Wants" Brief: A highly concise, one-page breakdown of your absolute must-haves (e.g., north-facing living areas, 3 bedrooms) versus nice-to-haves.
A Transparent Budget: Be incredibly honest about your numbers. Great professionals design to a budget.
Site Information: A copy of the Section 32 vendor statement if you’ve recently purchased the property.
Visual Inspiration: 3 to 5 reference photos that showcase the architectural language or development standard you are aiming for.
How to Evaluate the Architect: The Ego vs. Empathy Check
Pay close attention to the dynamic. Does the architect listen and actively work toward your specific goals? Or do they spend the meeting explaining why everything is too difficult while steering the project toward their own design agenda? You need a balance of both expertise and empathy. An architect who genuinely shares your goals will always net you the best result.
Run a quick reality check by asking these questions directly:
"What do you see as the primary planning challenge on this specific block?"
"Based on my brief, can we fast-track any of this under the VicSmart planning permit process, or will it require a standard application?"
"Have you successfully delivered projects within this local Council area recently?"
A confident professional will immediately isolate practical constraints—the height limit, site coverage rules, or neighbourhood character. They might pull up Google Maps right there, look at the aerial view, and point out things you missed: "That neighbour's window is close to your boundary line, which means it will directly affect our setbacks." Your architect should absorb information just like the Council helpdesk did.
The focus of this initial interview isn’t to solve every issue on day one; it’s an audit of their thinking process and issues identification.
Do not take this lightly. There are many draftspersons and junior designers who simply do not possess the experience to do this.


Before you engage Architect: Fees, Deliverables, and the Industry Shift
If the conversation flows well and you feel good about the architect, a true professional will provide a transparent framework before you sign anything.
Expect a Staged Fee Breakdown
Never agree to a single lump-sum fee. You want a staged breakdown where each phase clearly outlines the price and the exact deliverables. If possible, ask to see a sample set of their past drawings so you have a visual record of what the confirmed deliverables look like.
Consultant services can be notoriously difficult to define. Twenty years ago, this wasn't an issue because the market was primarily registered architects who maintained a strict baseline of quality. Today, heavy market competition allows draftspersons with only a year or two of experience to offer the same baseline services.
Unfortunately, the deep professional respect for a client’s bottom line has shifted. The traditional mindset—where a designer thinks, "A variation on-site will cost my client $3,000, so let's put in the extra effort to triple-check this," or "Let's align this detail perfectly so the client doesn't wait an extra two months for council approval, costing them $8,000 in bank interest"—is no longer universal.
By demanding to see their past deliverables and keeping them on record, you hold the designer accountable. A staged work method allows you to audit each milestone. If the work doesn't match the agreed-upon deliverables, you can demand rectification early or cut ties quickly, minimizing your loss of time and money.


After You Engage: Evaluating the Architect's first submission
Once you sign the contract and pay the deposit, the architect gets to work. A week or two later, they will present an initial spatial design showing the floor plan, room layout, and how the building sits on the piece of land.
Now it’s time to evaluate their work against your own research. Does it reflect the bulk you found on your street? Does it respect what the Council's Duty Planner told you? A high-quality design must naturally account for these core principles:
North Orientation: Living areas should face north to capture natural light and warmth. Garages, laundries, and service spaces belong on the south. This is Design 101—if they got it wrong, demand to know why.
Cross-Ventilation: Windows and openings should be positioned so air actually moves through the home. You need a clear path for breezes, not just a single window stuck in the corner of a room.
Setback Compliance: Front, side, and rear setbacks must align with what the planning scheme dictates to prevent nasty surprises later.
Neighbourhood Character: The overall massing, roof forms, and street presence must fit the visual fabric of the area you photographed.
Site Coverage & Permeability: How much of the block is built over versus left as garden space? Most Victorian zones enforce strict legal limits here.
Internal Spatial Flow: Look at how the rooms connect. Does the kitchen transition smoothly into the dining area? Does the living room breathe and connect visually with the garden?
The Ultimate Test of a Good Architect: The "Why"
A great designer must be able to articulately explain the intent behind every line they draw. If you look at the layout and say, "I want the kitchen moved to the south side," an average designer will simply nod, move it, and send you a revised plan.
A great architect will challenge you with data:
"We placed the kitchen on the north to capture morning light and anchor the open-plan living zone. Your way can physically work, but you will completely lose solar gain throughout winter, and the kitchen will feel noticeably darker. That is the trade-off. Are you comfortable with that?"
Alternatively, they might say:
"Moving it there violates a specific planning rule. The ResCode standards protect your neighbour’s north-facing windows, and we legally cannot block their light access. However, we can achieve the layout you want by shifting the footprint 1.2 metres east. Let me show you how we manage that risk."
They will map out the risk, explain the governing rule, and show you how to minimize the impact. If your architect doesn't provide that level of depth—if they just blindly change whatever you ask—they are passing the buck.
When a issue inevitably arises at Council, they will simply tell you, "Well, it was your decision, and we will need to charge you extra for our time."
Layouts is NEVER be a random walk; and they aren't generated without reasoning like an AI. Layout and design require depth and intent. If your initial design meetings discussion presented with deep intent, congratulations—you've hired a phenomenal consultant, and the rest of your Planning Permit journey will be smooth.
Town Planning Documents
Without drowning in paperwork, ensure your architect explicitly confirms they have checked every single relevant rule within the local Planning Scheme. The final town planning report must explain exactly how the design addresses each clause. As the client, verifying this coverage is the best and most effective protection you have.


Planning Permit Process Victoria
The Council Process
The formal application process follows three distinct steps:
Stage 1: Lodgement and the RFI Stage
Council receives your application and assigns it to a planning officer for a preliminary review. They check the documents for completeness. If there are any technical gaps or non-compliance issues, they will issue a formal Request for Further Information (RFI). In Victoria, Council generally has 28 days from lodgement to issue this. It is a standard part of the process—not a rejection. Your architect will update the documentation to satisfy their queries.
Stage 2: Public Advertising (Notification)
Once the planning officer has the required information, the application moves to public advertising. Depending on the zone, this means putting a notice board on the site and mailing letters to your immediate neighbours. The community has a window to review the files and lodge objections. If objections are raised, your architect can respond professionally, often resolving the issue by adding a minor screening element or adjusting a window without compromising your core vision.
Stage 3: Final Assessment and Decision
The planning officer compiles the initial application, your RFI responses, and any community feedback for a final evaluation. If the design aligns beautifully with ResCode standards or balances its variations perfectly, the council cannot legally reject it based on personal preference. They will issue a Notice of Decision to Grant a Planning Permit (or issue the permit directly with standard conditions, such as slightly tweaking a specific boundary setback).
Council is Reasonable, Not a Lottery
The only time a Council seems "unreasonable" or slightly unpredictable is when you are seeking a variation to strict rules, or when they exercise their subjective power to evaluate whether a design matches the neighborhood character.
However, these power is limited. When you focus directly on the specific variations seeking approval and present the work you've done to mitigate the impact, Council will usually approve the planning permit—though they may sometimes add conditions to the variation.
By the time your application is lodged, these variations should be known.